上一篇
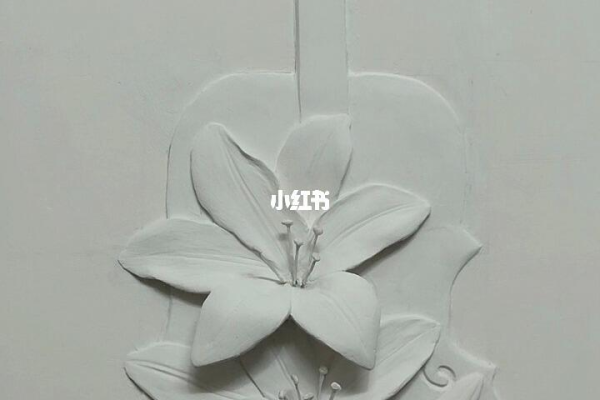
C#实现绘制浮雕图片效果实例
摘要:C#实现绘制浮雕图片效果实例:该实例展示了如何在C#中通过图像处理技术实现浮雕效果,为开发者提供了一种图像特效的实现方法。
在C#中实现绘制浮雕图片效果,可以通过使用GDI+库来完成,GDI+是.NET Framework的一部分,提供了丰富的图形图像处理功能,下面将通过一个实例来详细讲解如何在C#中实现浮雕效果。

需要创建一个Windows Forms应用程序项目,在项目中添加一个PictureBox控件,用于显示原始图片和处理后的图片。
编写代码来实现浮雕效果,浮雕效果的基本原理是通过计算每个像素点与其周围像素点的颜色差异,然后根据差异调整颜色值来模拟浮雕效果。
以下是一个示例代码:
using System;
using System.Drawing;
using System.Windows.Forms;
namespace EmbossEffectExample
{
    public partial class Form1 : Form
    {
        private Bitmap originalBitmap;
        private Bitmap embossedBitmap;
        public Form1()
        {
            InitializeComponent();
            LoadImage();
            ApplyEmbossEffect();
        }
        private void InitializeComponent()
        {
            this.pictureBox1 = new System.Windows.Forms.PictureBox();
            this.SuspendLayout();
            //
            // pictureBox1
            //
            this.pictureBox1.Dock = System.Windows.Forms.DockStyle.Fill;
            this.pictureBox1.Location = new System.Drawing.Point(0, 0);
            this.pictureBox1.Name = "pictureBox1";
            this.pictureBox1.Size = new System.Drawing.Size(800, 450);
            this.pictureBox1.TabIndex = 0;
            this.pictureBox1.TabStop = false;
            //
            // Form1
            //
            this.AutoScaleDimensions = new System.Drawing.SizeF(6F, 13F);
            this.AutoScaleMode = System.Windows.Forms.AutoScaleMode.Font;
            this.ClientSize = new System.Drawing.Size(800, 450);
            this.Controls.Add(this.pictureBox1);
            this.Name = "Form1";
            this.Text = "Emboss Effect Example";
            this.ResumeLayout(false);
            this.PerformLayout();
        }
        private void LoadImage()
        {
            originalBitmap = new Bitmap("path_to_your_image.jpg"); // 替换为你的图片路径
            embossedBitmap = new Bitmap(originalBitmap.Width, originalBitmap.Height);
        }
        private void ApplyEmbossEffect()
        {
            for (int y = 1; y < originalBitmap.Height 1; y++)
            {
                for (int x = 1; x < originalBitmap.Width 1; x++)
                {
                    Color pixel = originalBitmap.GetPixel(x, y);
                    Color topLeft = originalBitmap.GetPixel(x 1, y 1);
                    Color topRight = originalBitmap.GetPixel(x + 1, y 1);
                    Color bottomLeft = originalBitmap.GetPixel(x 1, y + 1);
                    Color bottomRight = originalBitmap.GetPixel(x + 1, y + 1);
                    int redDiff = (topLeft.R + topRight.R + bottomLeft.R + bottomRight.R) / 4 pixel.R;
                    int greenDiff = (topLeft.G + topRight.G + bottomLeft.G + bottomRight.G) / 4 pixel.G;
                    int blueDiff = (topLeft.B + topRight.B + bottomLeft.B + bottomRight.B) / 4 pixel.B;
                    int red = Clamp(pixel.R + redDiff * 2, 0, 255);
                    int green = Clamp(pixel.G + greenDiff * 2, 0, 255);
                    int blue = Clamp(pixel.B + blueDiff * 2, 0, 255);
                    embossedBitmap.SetPixel(x, y, Color.FromArgb(red, green, blue));
                }
            }
            pictureBox1.Image = embossedBitmap;
        }
        private int Clamp(int value, int min, int max)
        {
            if (value < min) return min;
            if (value > max) return max;
            return value;
        }
    }
}| 步骤 | 描述 |
| 创建项目 | 创建一个Windows Forms应用程序项目 |
| 添加控件 | 在窗体上添加一个PictureBox控件 |
| 加载图片 | 编写代码加载原始图片到Bitmap对象 |
| 应用浮雕效果 | 遍历每个像素,计算与周围像素的颜色差异,调整颜色值并应用浮雕效果 |
| 显示结果 | 将处理后的Bitmap设置为PictureBox的Image属性 |
FAQs:
Q1:如何调整浮雕效果的强度?
A1:可以通过修改ApplyEmbossEffect方法中的redDiff * 2、greenDiff * 2和blueDiff * 2中的乘数来调整浮雕效果的强度,增大乘数会使浮雕效果更明显,减小乘数会使效果更柔和。
Q2:为什么浮雕效果的边缘会出现不自然的现象?
A2:这是因为在处理边缘像素时,没有考虑到边界外的像素,可以通过在图片周围添加边框或者使用其他算法来处理边缘像素,以减少不自然的现象。
小编有话说:通过以上实例,我们可以看到在C#中使用GDI+库可以轻松地实现浮雕效果,这只是一个简单的示例,实际应用中可以根据需求进行更多的优化和改进,希望这个实例能够帮助大家更好地理解和掌握C#中的图形图像处理技术。
本站发布或转载的文章及图片均来自网络,其原创性以及文中表达的观点和判断不代表本站,有问题联系侵删!
本文链接:https://www.xixizhuji.com/fuzhu/403949.html