如何在Linux系统上安装cpplint?
- 行业动态
- 2025-01-19
- 4
cpplint是一个基于Python的静态代码分析工具,用于检查C++代码是否符合Google的编码规范。
安装cpplint
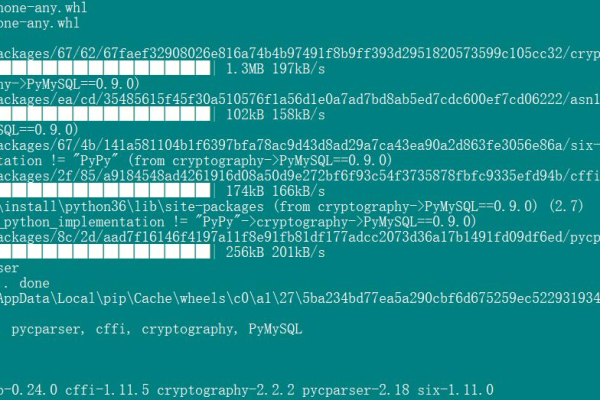
步骤1: 使用pip安装cpplint
sudo pip install cpplint
步骤2: 检查安装目录
ls -l /usr/local/bin/cpplint
如果不在此目录下,需要在vscode中手动配置一下cpplint的执行路径。
保存cpplint.py文件
下载cpplint.py 脚本并保存到本地,例如保存到当前工作目录。
检测单个文件
python2 cpplint.py test.cpp
或者根据系统环境使用Python3运行:
python3 cpplint.py test.cpp
批量检测文件
编写shell脚本来批量检测文件,以下是一个示例脚本:
#!/bin/bash #^@^@^@^@^@^@^@^@^@^@^@^@^@^@^@^@^@^@^@^@^@^^@^@^@^@^@^@^@^@^@^@^@^@^@^@^@^@^@^@^@^@^@^@^@^@^@^@^@^@^@^@^@^@^@^ echo "^@^@^@^@^@^@^@^@^@^@^@^@^@^@^@^@^@^^@@^@^@^@^@^@^@^@^@^@^@^@^@^@^@^@^@^@^@^@^@^@^@^@^@^@^@^@^@^@^@^@^@^@^@^@^@^@^@^@^@^@^@^@^@^@^@^@^@^@^@^@^" index=0 config="" pwd_path=pwdcpplint_path="$pwd_path/cpplint.py" src_path="$pwd_path/src" echo cpplint_path=$cpplint_path echo src_path=$src_path #add a file to an array, and check file in last for file infind $src_path -name "*.h" | grep -E '^s*#include'; do echo $file file=$file index=$((index+1)) check_files[$index]=$file done echo "cpplint_path=$cpplint_path" echo "src_path=$src_path" #according to config options to decide which option to add check_python2_exists=python2 --versionif [ $? -eq 0 ] then check_cmd="python2" else check_cmd="python3" fi echo $check_cmd #read cpplint.ini to decide which option to add if [ -f "cpplint.ini" ] then config=cat cpplint.inifor file in ${check_files[*]} do if [[ $file == *filter* ]] then continue fi check_cmd="$check_cmd $cpplint_path $config $file" eval $check_cmd done fi echo ""
运行脚本
sudo bash cpplint_shell.sh
该脚本会直接在终端打印信息,也可以生成检测报告。
FAQs
Q1: 如何在Windows上安装cpplint?
A: Windows用户需要先安装Python,设置系统环境变量,将Python的安装路径写入环境变量中,然后下载cpplint.py文件并运行,具体步骤如下:
1、安装Python并设置环境变量。
2、下载cpplint.py文件。
3、使用命令行运行cpplint.py文件。
4、修改并执行批处理文件。
Q2: 如何忽略特定规则进行代码检查?
A: 可以在运行cpplint时使用--filter选项来忽略特定规则。
python cpplint.py --filter=-whitespace,-readability,-legal test.cpp


