上一篇
刀片服务器重启异常该如何快速解决?
刀片服务器重启通常需通过管理模块操作:登录管理界面,进入服务器控制选项,选择重启功能,若系统无响应,可通过机箱物理电源按钮强制关机再启动,重启前建议保存数据,确认无关键任务运行,避免业务中断,整个过程需监控启动状态,确保服务恢复正常。
刀片服务器如何安全重启?详细操作指南
刀片服务器作为高密度计算的硬件设备,广泛应用于企业数据中心和云计算环境中,重启是服务器运维中的常见操作,但因涉及关键业务,操作需谨慎,以下是刀片服务器重启的完整流程及注意事项,帮助用户降低风险并确保操作规范。
重启前的准备工作
-
确认重启必要性
- 检查服务器是否因系统卡顿、服务无响应或硬件报错需重启。
- 优先尝试通过软件层面解决问题(如重启服务或应用)。
-
备份数据与记录状态
- 若服务器承载关键业务,需提前备份数据库或配置文件。
- 记录当前硬件状态(如电源、风扇、硬盘指示灯)。
-
通知相关人员
告知团队或客户即将重启,避免业务中断影响用户体验。
正常重启操作步骤
方法1:通过操作系统重启
- 远程登录服务器
使用SSH(Linux)或远程桌面(Windows)连接服务器。

- 执行重启命令
- Linux系统:输入
sudo reboot或shutdown -r now。 - Windows系统:运行
shutdown /r /t 0,或在开始菜单选择“重启”。
- Linux系统:输入
方法2:通过管理模块重启
刀片服务器通常集成管理模块(如iLO、iDRAC、BMC),支持远程控制:
- 登录管理界面(通过IP地址和账号密码)。
- 导航至服务器控制页面,选择“Power Cycle”或“重启”选项。
- 确认操作后等待服务器完成重启(约5-10分钟)。
方法3:物理操作重启
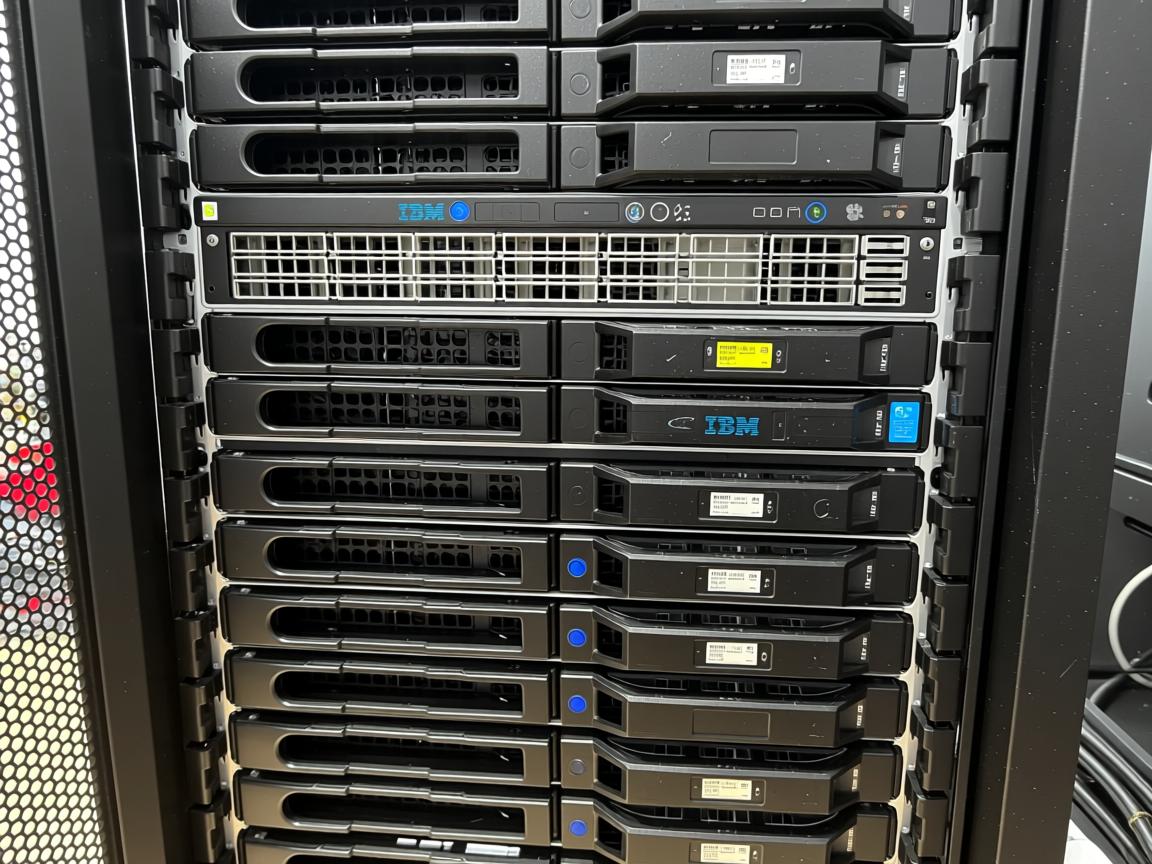
- 定位服务器位置
在机架中找到对应的刀片槽位,确认服务器编号。
- 长按电源按钮
轻按电源键可能触发正常关机,建议长按5秒强制断电。
- 重新上电
等待30秒后再次按下电源键启动。

强制重启的风险与操作
若服务器完全无响应,需强制断电重启:
- 通过管理模块强制断电
在管理界面选择“强制关机”(Force Power Off),再重新上电。
- 直接拔插电源(最后手段)
- 关闭机柜PDU电源,等待1分钟后恢复供电。
- 风险提示:可能导致数据丢失或文件系统损坏,需谨慎操作!
不同品牌的差异化操作
- 戴尔PowerEdge系列
使用iDRAC管理界面,选择“重启”或“电源循环”。
- 惠普ProLiant系列
通过iLO控制台操作,支持远程重启和日志查看。
- 华为E9000系列
- 登录MM910管理模块,通过CLI命令
power reset -n 槽位号执行重启。
- 登录MM910管理模块,通过CLI命令
重启后的检查与验证
- 监控启动过程
观察指示灯:绿色常亮表示正常,橙色闪烁可能为故障。

- 登录系统检查
- 确认服务是否自动恢复,运行
systemctl status(Linux)或查看事件日志(Windows)。
- 确认服务是否自动恢复,运行
- 硬件健康诊断
通过管理工具运行健康检查(如Dell OpenManage、HP SUM)。
常见问题与解决方案
- 重启后无法进入系统
检查硬盘状态,尝试进入安全模式修复。
- 管理模块无法连接
重置管理端口IP,或通过串口登录排查网络配置。
- 多次重启后仍故障
联系厂商技术支持,提供日志(如/var/log/messages)协助分析。
注意事项
- 权限管理:重启操作需管理员权限,避免误操作。
- 避免频繁重启:可能加速硬件老化,需排查根本原因。
- 环境安全:确保机房温度、湿度在合理范围内。
引用说明
本文参考了戴尔iDRAC 9用户手册、惠普iLO 5管理指南及华为E9000维护文档,结合行业运维实践经验总结而成。