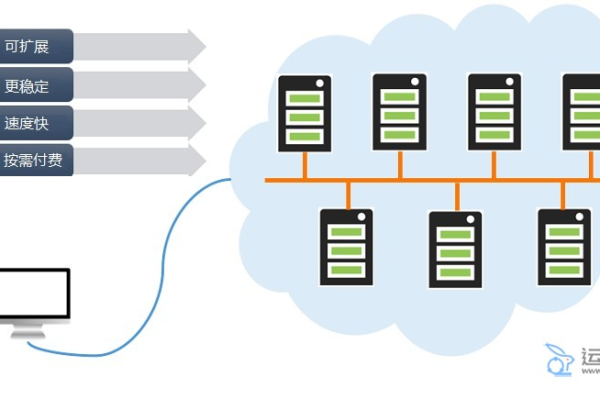
从零开始用云服务器

第一步:注册并购买云服务器
- 选择服务商:推荐主流平台(阿里云、腾讯云、华为云),确保资质齐全、服务稳定。
- 配置选择:根据需求选择CPU、内存、带宽(个人博客或小型网站建议1核2G、1M带宽起步)。
- 系统镜像:优先选择Linux系统(如CentOS 7.6+或Ubuntu 20.04),兼容性强且资源占用低。
第二步:登录服务器与基础配置
- SSH连接:使用终端(Mac/Linux)或PuTTY(Windows)输入命令:
ssh root@服务器公网IP
输入密码后进入服务器。
- 修改密码:首次登录后立即修改默认密码,命令:
passwd
- 创建新用户(可选):避免长期使用root账户,提升安全性:
useradd -m 用户名
passwd 用户名
usermod -aG wheel 用户名  # CentOS
usermod -aG sudo 用户名   # Ubuntu
第三步:安装必要环境
以搭建网站为例,需部署LAMP/LNMP环境:

- 更新系统:
yum update -y  # CentOS
apt update && apt upgrade -y  # Ubuntu
- 安装Apache/Nginx:
yum install httpd -y  # Apache(CentOS)
systemctl start httpd && systemctl enable httpd
apt install nginx -y  # Nginx(Ubuntu)
systemctl start nginx && systemctl enable nginx
- 安装MySQL/MariaDB:
yum install mariadb-server mariadb -y  # CentOS
systemctl start mariadb && systemctl enable mariadb
mysql_secure_installation  # 运行安全配置脚本
- 安装PHP:
yum install php php-mysqlnd php-fpm -y  # CentOS
systemctl start php-fpm && systemctl enable php-fpm
第四步:域名解析与备案
- 域名购买:在服务商处注册域名(如阿里云万网)。
- 域名备案:国内服务器需提交备案(约10-20个工作日),海外服务器可跳过。
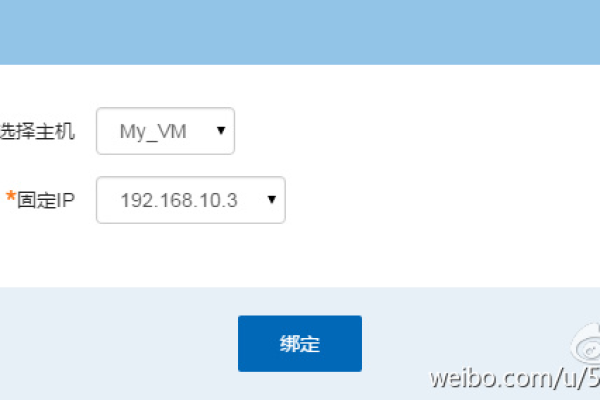
- 解析域名:在域名管理后台添加A记录,指向服务器公网IP。
第五步:部署网站代码
- 上传文件:
- 使用SFTP工具(如FileZilla)连接服务器,将网站文件上传至
/var/www/html/(Apache)或/usr/share/nginx/html/(Nginx)。 - 或通过Git克隆代码仓库。
- 使用SFTP工具(如FileZilla)连接服务器,将网站文件上传至
- 配置虚拟主机(以Nginx为例):
vi /etc/nginx/conf.d/your_domain.conf
输入以下内容:

server { listen 80; server_name your_domain.com; root /var/www/your_project; index index.php index.html; location / { try_files $uri $uri/ /index.php?$query_string; } location ~ .php$ { include fastcgi_params; fastcgi_pass unix:/var/run/php-fpm/php-fpm.sock; fastcgi_param SCRIPT_FILENAME $document_root$fastcgi_script_name; } } - 重启服务:
systemctl restart nginx
第六步:配置安全防护
- 防火墙设置:
firewall-cmd --permanent --add-service=http  # 开放80端口
firewall-cmd --permanent --add-service=https # 开放443端口
firewall-cmd --reload
- 安装SSL证书:
- 使用Let’s Encrypt免费证书:
apt install certbot python3-certbot-nginx -y  # Ubuntu
certbot --nginx -d your_domain.com
- 使用Let’s Encrypt免费证书:
- 禁用root远程登录:
vi /etc/ssh/sshd_config
修改
PermitRootLogin为no,重启服务:systemctl restart sshd
第七步:监控与维护

- 资源监控:通过云平台控制台查看CPU、内存、流量使用情况。
- 定期备份:
- 手动备份:打包网站文件和数据库。
- 自动备份:使用云服务商的快照功能(如阿里云自动快照策略)。
- 更新软件:每月执行
yum update或apt update修复破绽。
常见问题解答
- 网站无法访问:检查防火墙规则、服务状态(
systemctl status nginx)、域名解析是否生效。 - 数据库连接失败:确认MySQL用户权限及防火墙3306端口是否开放。
- HTTPS混合内容警告:确保网页内所有资源(图片、CSS)均使用HTTPS链接。
引用说明
本文参考阿里云官方文档《ECS新手入门》、腾讯云《LNMP环境搭建教程》、Let’s Encrypt官方指南。


热门文章
-

云服务器在搭建实时报警平台中扮演什么角色?
2024-10-04 -

MySQL存储过程的高效使用与编写指南,如何优化C语言中的MySQL存储过程?
2025-03-08 -

为什么服务器在技术世界中如此受到青睐?
2024-10-08 -

微信中拉黑某人后,其头像显示状态会有什么变化?
2024-11-12 -
配件网站模板_网站模板设置
2024-06-23 -

QQ资料卡为何显示为空?原因何在?
2024-11-11 -

如何检查网络连接状态以确保设备已连接到互联网?
2025-03-01 -

如何轻松租用云服务器,关键步骤和技巧指南
2024-09-22