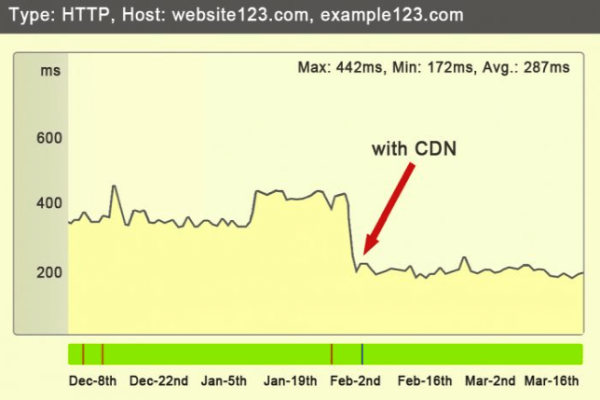
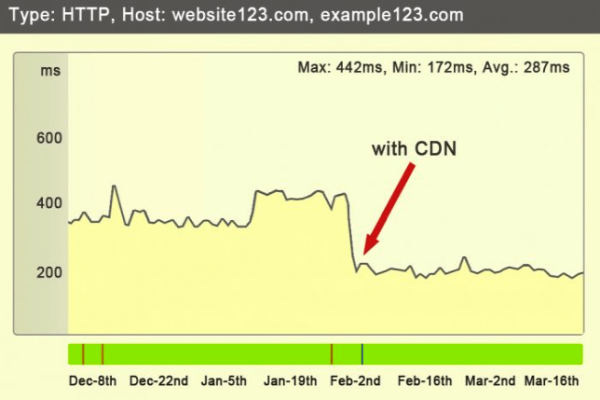
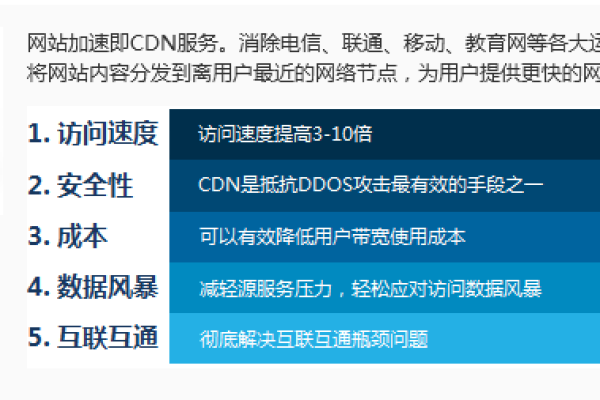
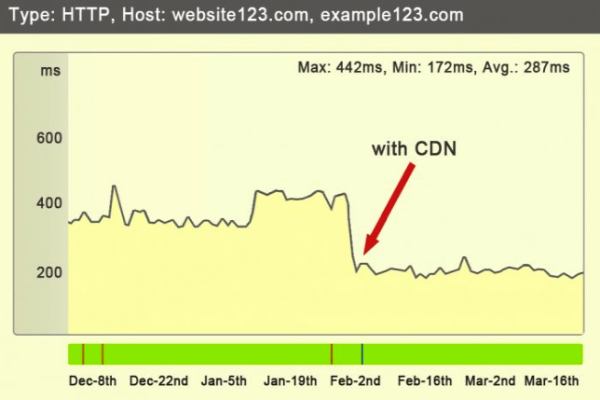
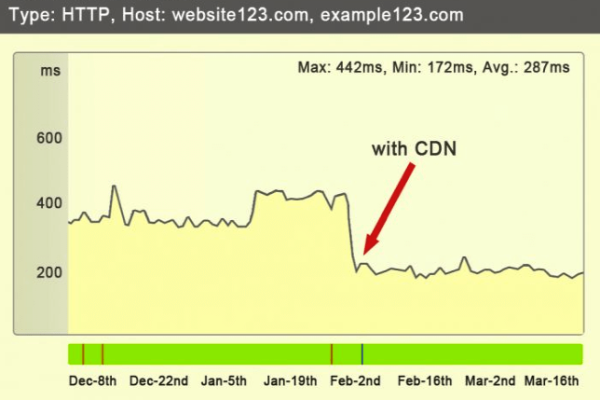
Roboto字体的CDN服务是如何提升网页加载速度的?
- 行业动态
- 2024-12-27
- 3697
Roboto字体可通过Google Fonts的CDN引入,使用“标签链接到CSS文件,方便快捷地在网页中使用。
Roboto字体是一种由Google开发的无衬线字体,具有多种不同的字重和样式,包括常规、粗体、斜体等,这种字体因其现代化的设计和高可读性而广受欢迎,被广泛应用于网页设计、移动应用和其他数字界面中。
使用Roboto字体的方法
Google Fonts CDN引入方式
通过Google Fonts的CDN(内容分发网络)引入Roboto字体是最为便捷的方式之一,只需在HTML文件的头部添加以下代码:
<link href="https://fonts.googleapis.com/css?family=Roboto:400,700" rel="stylesheet">
上述代码将链接到Roboto 400和Roboto 700两种字重的字体,您可以根据需要调整字重,然后在CSS样式表中使用Roboto字体:
body {
    font-family: 'Roboto', sans-serif;
}
本地文件引入方式
如果您希望将Roboto字体直接嵌入到您的网站中,可以在Google Fonts网站上下载所需的字体文件,然后将它们放置在网站的特定文件夹中,fonts”文件夹,在CSS中使用@font-face规则来引入这些字体文件:
@font-face {
    font-family: 'Roboto';
    src: url('fonts/Roboto-Regular.woff2') format('woff2'),
         url('fonts/Roboto-Regular.woff') format('woff');
    font-weight: 400;
    font-style: normal;
}
同样在CSS样式表中使用Roboto字体:
body {
    font-family: 'Roboto', sans-serif;
}
CSS @import引入方式
另一种引入Roboto字体的方法是使用CSS的@import规则,在您的CSS样式表顶部添加以下代码:
@import url('https://fonts.googleapis.com/css?family=Roboto:400,700');您可以像之前一样在CSS样式表中使用Roboto字体:
body {
    font-family: 'Roboto', sans-serif;
}
示例
以下是一个使用Roboto字体的完整示例,展示了如何在HTML和CSS文件中引入和使用该字体:
<!DOCTYPE html>
<html lang="en">
<head>
    <meta charset="UTF-8">
    <meta name="viewport" content="width=device-width, initial-scale=1.0">
    <link href="https://fonts.googleapis.com/css?family=Roboto:400,700" rel="stylesheet">
    <style>
        body {
            font-family: 'Roboto', sans-serif;
            font-size: 16px;
            color: #333;
        }
        h1 {
            font-family: 'Roboto', sans-serif;
            font-weight: 700;
            font-size: 28px;
            color: #000;
        }
    </style>
    <title>Using Roboto Font</title>
</head>
<body>
    <h1>Welcome to My Website</h1>
    <p>This is an example of using the Roboto font on a website. It is a modern and easy-to-read sans-serif font.</p>
</body>
</html>
常见问题解答(FAQs)
Q1: 如何在Android应用中使用Roboto字体?
A1: 在Android开发中,您可以通过在res/values/strings.xml文件中添加以下代码来全局设置Roboto字体:
<item name="android:fontFamily">sans-serif</item>
或者,您可以在布局文件中为特定的TextView设置字体:
<TextView
    android:layout_width="wrap_content"
    android:layout_height="wrap_content"
    android:text="Hello World!"
    android:fontFamily="sans-serif"/>
Q2: 如何将Roboto字体转换为Base64编码并在jsPDF中使用?
A2: 您需要将Roboto字体文件转换为Base64编码格式,可以使用在线工具或编写脚本来完成此操作,在jsPDF中添加字体:
var font = {
    Roboto: {
        normal: 'data:application/x-font-woff;base64,...', // Base64编码的普通字体
        bold: 'data:application/x-font-woff;base64,...', // Base64编码的粗体字体
        italics: 'data:application/x-font-woff;base64,...', // Base64编码的斜体字体
        bolditalics: 'data:application/x-font-woff;base64,...' // Base64编码的粗斜体字体
    }
};
doc.addFont(font.Roboto.normal, 'Roboto', 'normal');
doc.addFont(font.Roboto.bold, 'Roboto', 'bold');
doc.addFont(font.Roboto.italics, 'Roboto', 'italic');
doc.addFont(font.Roboto.bolditalics, 'Roboto', 'bolditalic');
小编有话说
Roboto字体以其简洁现代的设计风格和优秀的可读性,成为了许多设计师和开发者的首选,无论是在网页设计还是移动应用开发中,Roboto都能提供一致且高质量的用户体验,通过上述方法,您可以轻松地将Roboto字体集成到您的项目中,提升整体视觉效果,希望这篇文章能帮助您更好地理解和使用Roboto字体,让您的项目更加出色!
本站发布或转载的文章及图片均来自网络,其原创性以及文中表达的观点和判断不代表本站,有问题联系侵删!
本文链接:http://www.xixizhuji.com/fuzhu/376082.html
