如何用Android代码实现水波纹扩散效果?
- 行业动态
- 2024-11-10
- 2
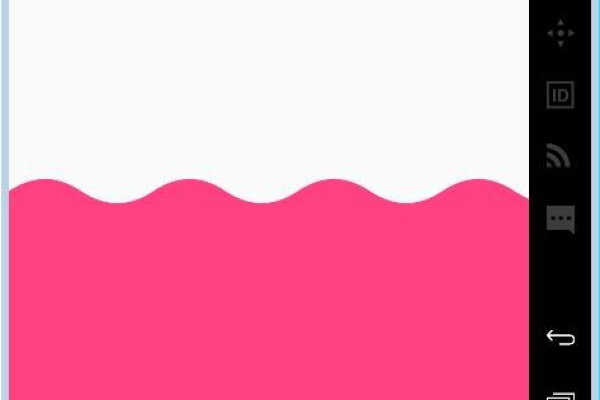
在Android中实现水波纹扩散效果,可以使用 RippleDrawable或自定义View。以下是一个简单的示例代码:,,“ java,// 在res/drawable目录下创建一个ripple_effect.xml文件,,,,,,,,,// 在布局文件中使用该drawable作为背景,,“,,这段代码创建了一个带有水波纹效果的按钮,当用户点击按钮时,会显示一个扩散的水波纹动画。
在Android开发中,实现水波纹扩散效果可以通过多种方式完成,以下是一个详细的实例代码,展示如何在Android应用中实现水波纹扩散效果。
1. 准备工作
确保你的项目已经配置好基本的Android开发环境,并且你已经创建了一个Activity。
2. 添加依赖
在你的build.gradle文件中添加必要的依赖:
dependencies {
    implementation 'com.github.skyfishjy.ripplebackground:library:1.0.1'
}
3. 布局文件
在你的布局文件(例如activity_main.xml)中添加一个按钮,并设置其背景为水波纹效果:
<RelativeLayout xmlns:android="http://schemas.android.com/apk/res/android"
    xmlns:tools="http://schemas.android.com/tools"
    android:layout_width="match_parent"
    android:layout_height="match_parent"
    tools:context=".MainActivity">
    <Button
        android:id="@+id/button"
        android:layout_width="wrap_content"
        android:layout_height="wrap_content"
        android:text="Click Me"
        android:layout_centerInParent="true"/>
</RelativeLayout>
4. 自定义水波纹效果
为了实现更复杂的水波纹效果,我们可以使用自定义View,以下是一个简单的自定义View类,用于绘制水波纹效果:
1 创建自定义View类
新建一个Java或Kotlin类,例如RippleView.java:
package com.example.rippleeffect;
import android.content.Context;
import android.graphics.Canvas;
import android.graphics.Paint;
import android.os.Handler;
import android.util.AttributeSet;
import android.view.MotionEvent;
import android.view.View;
public class RippleView extends View {
    private float radius = 0;
    private float maxRadius;
    private Paint paint;
    private Handler handler = new Handler();
    private Runnable runnable = new Runnable() {
        @Override
        public void run() {
            radius += 5;
            if (radius <= maxRadius) {
                invalidate();
                handler.postDelayed(this, 16); // roughly 60fps
            } else {
                radius = 0;
            }
        }
    };
    public RippleView(Context context) {
        super(context);
        init();
    }
    public RippleView(Context context, AttributeSet attrs) {
        super(context, attrs);
        init();
    }
    public RippleView(Context context, AttributeSet attrs, int defStyleAttr) {
        super(context, attrs, defStyleAttr);
        init();
    }
    private void init() {
        paint = new Paint();
        paint.setColor(0xFF0000FF); // Blue color
        paint.setAlpha(128); // Semi-transparent
    }
    @Override
    protected void onSizeChanged(int w, int h, int oldw, int oldh) {
        super.onSizeChanged(w, h, oldw, oldh);
        maxRadius = (float) Math.sqrt(w * w + h * h);
    }
    @Override
    protected void onDraw(Canvas canvas) {
        super.onDraw(canvas);
        canvas.drawCircle(getWidth() / 2, getHeight() / 2, radius, paint);
    }
    @Override
    public boolean onTouchEvent(MotionEvent event) {
        switch (event.getAction()) {
            case MotionEvent.ACTION_DOWN:
                handler.post(runnable);
                return true;
            case MotionEvent.ACTION_UP:
            case MotionEvent.ACTION_CANCEL:
                handler.removeCallbacks(runnable);
                return true;
        }
        return false;
    }
}
2 修改布局文件以使用自定义View
将布局文件中的按钮替换为自定义的水波纹View:
<RelativeLayout xmlns:android="http://schemas.android.com/apk/res/android"
    xmlns:tools="http://schemas.android.com/tools"
    android:layout_width="match_parent"
    android:layout_height="match_parent"
    tools:context=".MainActivity">
    <com.example.rippleeffect.RippleView
        android:id="@+id/rippleView"
        android:layout_width="match_parent"
        android:layout_height="match_parent"/>
</RelativeLayout>
5. MainActivity代码
在MainActivity.java中,不需要做额外的处理,因为我们已经在布局文件中使用了自定义的RippleView:
package com.example.rippleeffect;
import android.os.Bundle;
import androidx.appcompat.app.AppCompatActivity;
public class MainActivity extends AppCompatActivity {
    @Override
    protected void onCreate(Bundle savedInstanceState) {
        super.onCreate(savedInstanceState);
        setContentView(R.layout.activity_main);
    }
}
6. 运行应用
现在你可以运行你的应用,点击屏幕任意位置,你会看到水波纹扩散的效果,这个示例展示了如何通过自定义View来实现水波纹扩散效果,如果需要更复杂的效果,可以进一步优化和扩展这个自定义View。
各位小伙伴们,我刚刚为大家分享了有关“Android实现水波纹扩散效果的实例代码”的知识,希望对你们有所帮助。如果您还有其他相关问题需要解决,欢迎随时提出哦!
本站发布或转载的文章及图片均来自网络,其原创性以及文中表达的观点和判断不代表本站,有问题联系侵删!
本文链接:http://www.xixizhuji.com/fuzhu/17042.html
